Install SmartPlate
SmartPlate is a new magnetized build plate customized for Einstein™ printers to achieve an easier home position in minutes versus hours. Now with a new better surface for adhering during the print process, SmartPlate is a simple, intelligent Einstein™ add-on to upgrade efficiency – and is easy to install.
Tools required:
-
M2 Hex Wrench
-
M3 Hex Wrench
-
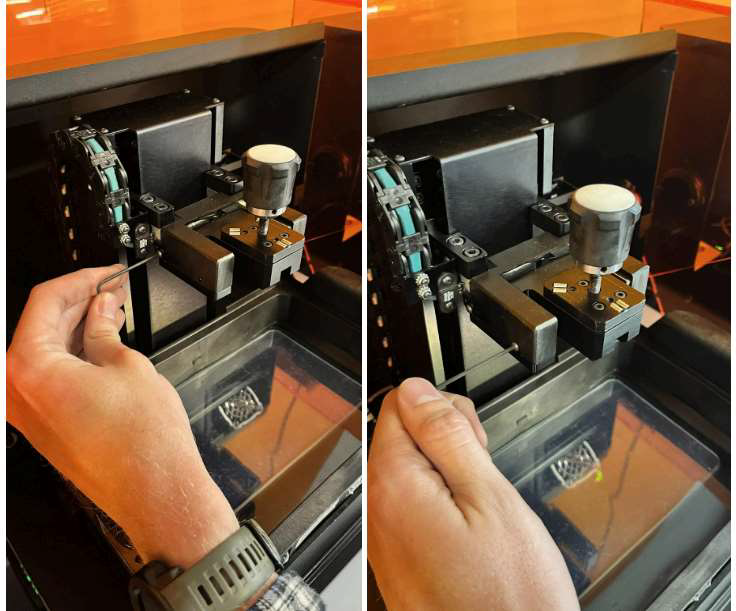
Use the M2 hex wrench to remove the four screws securing the load cell cover.
-
Set the cover aside carefully.
-
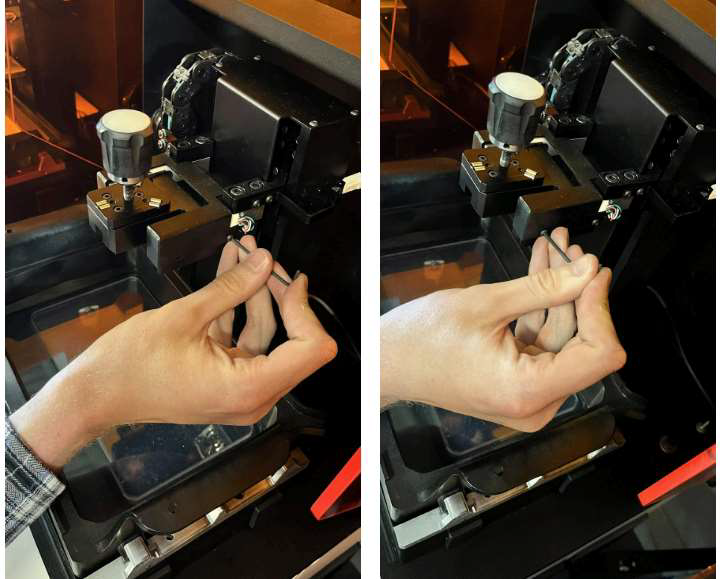
Use the M3 hex wrench to remove the screws from underneath the existing platform mount. Place the screws aside for reuse.
Note: Hold the platform mount while removing the final screw to prevent it from falling.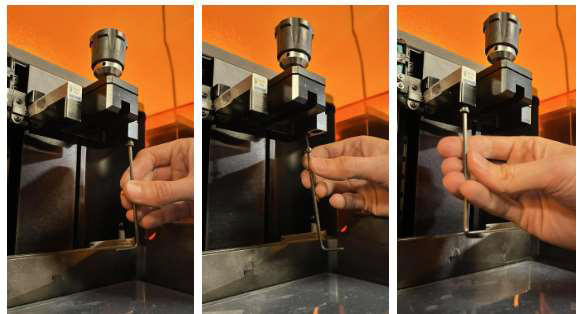
-
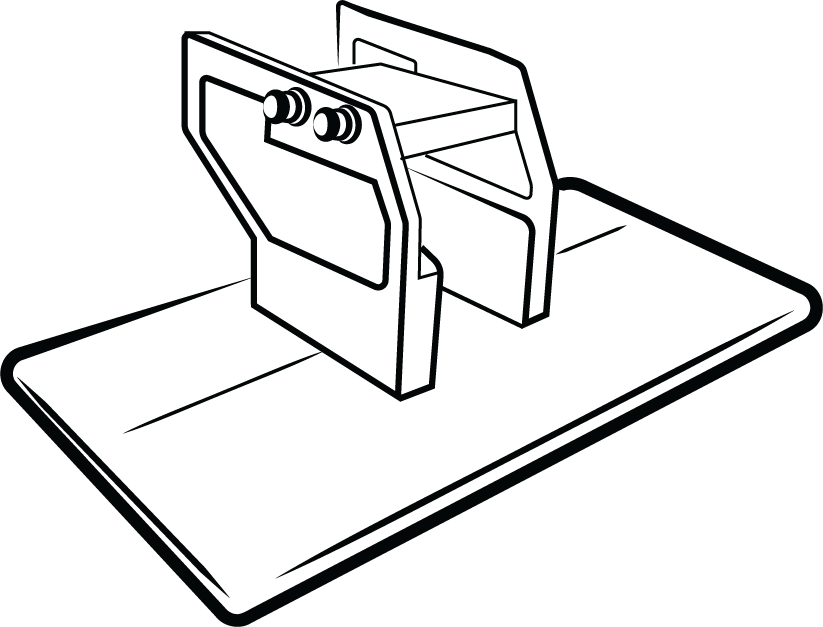
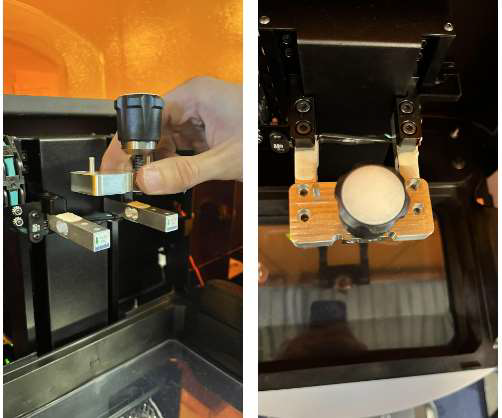
Position the new mounting fixture onto the load cells, ensuring the magnet faces forward and the alignment pins point toward the back of the printer. Make sure the tapped holes on the load cells align with the holes in the mounting fixture.
-
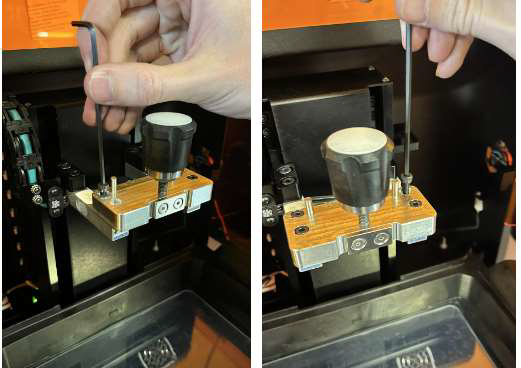
Reuse the screws removed earlier to attach the new mounting fixture to the load cells.

-
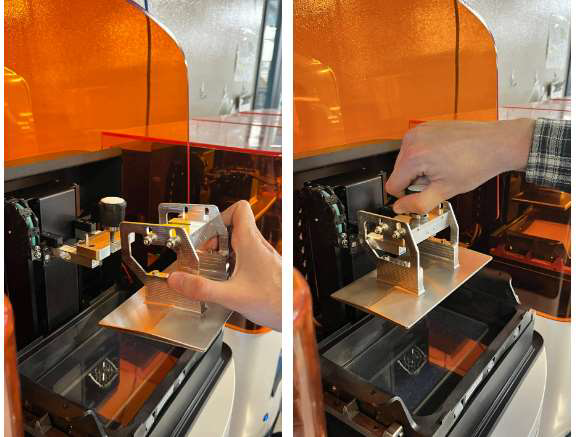
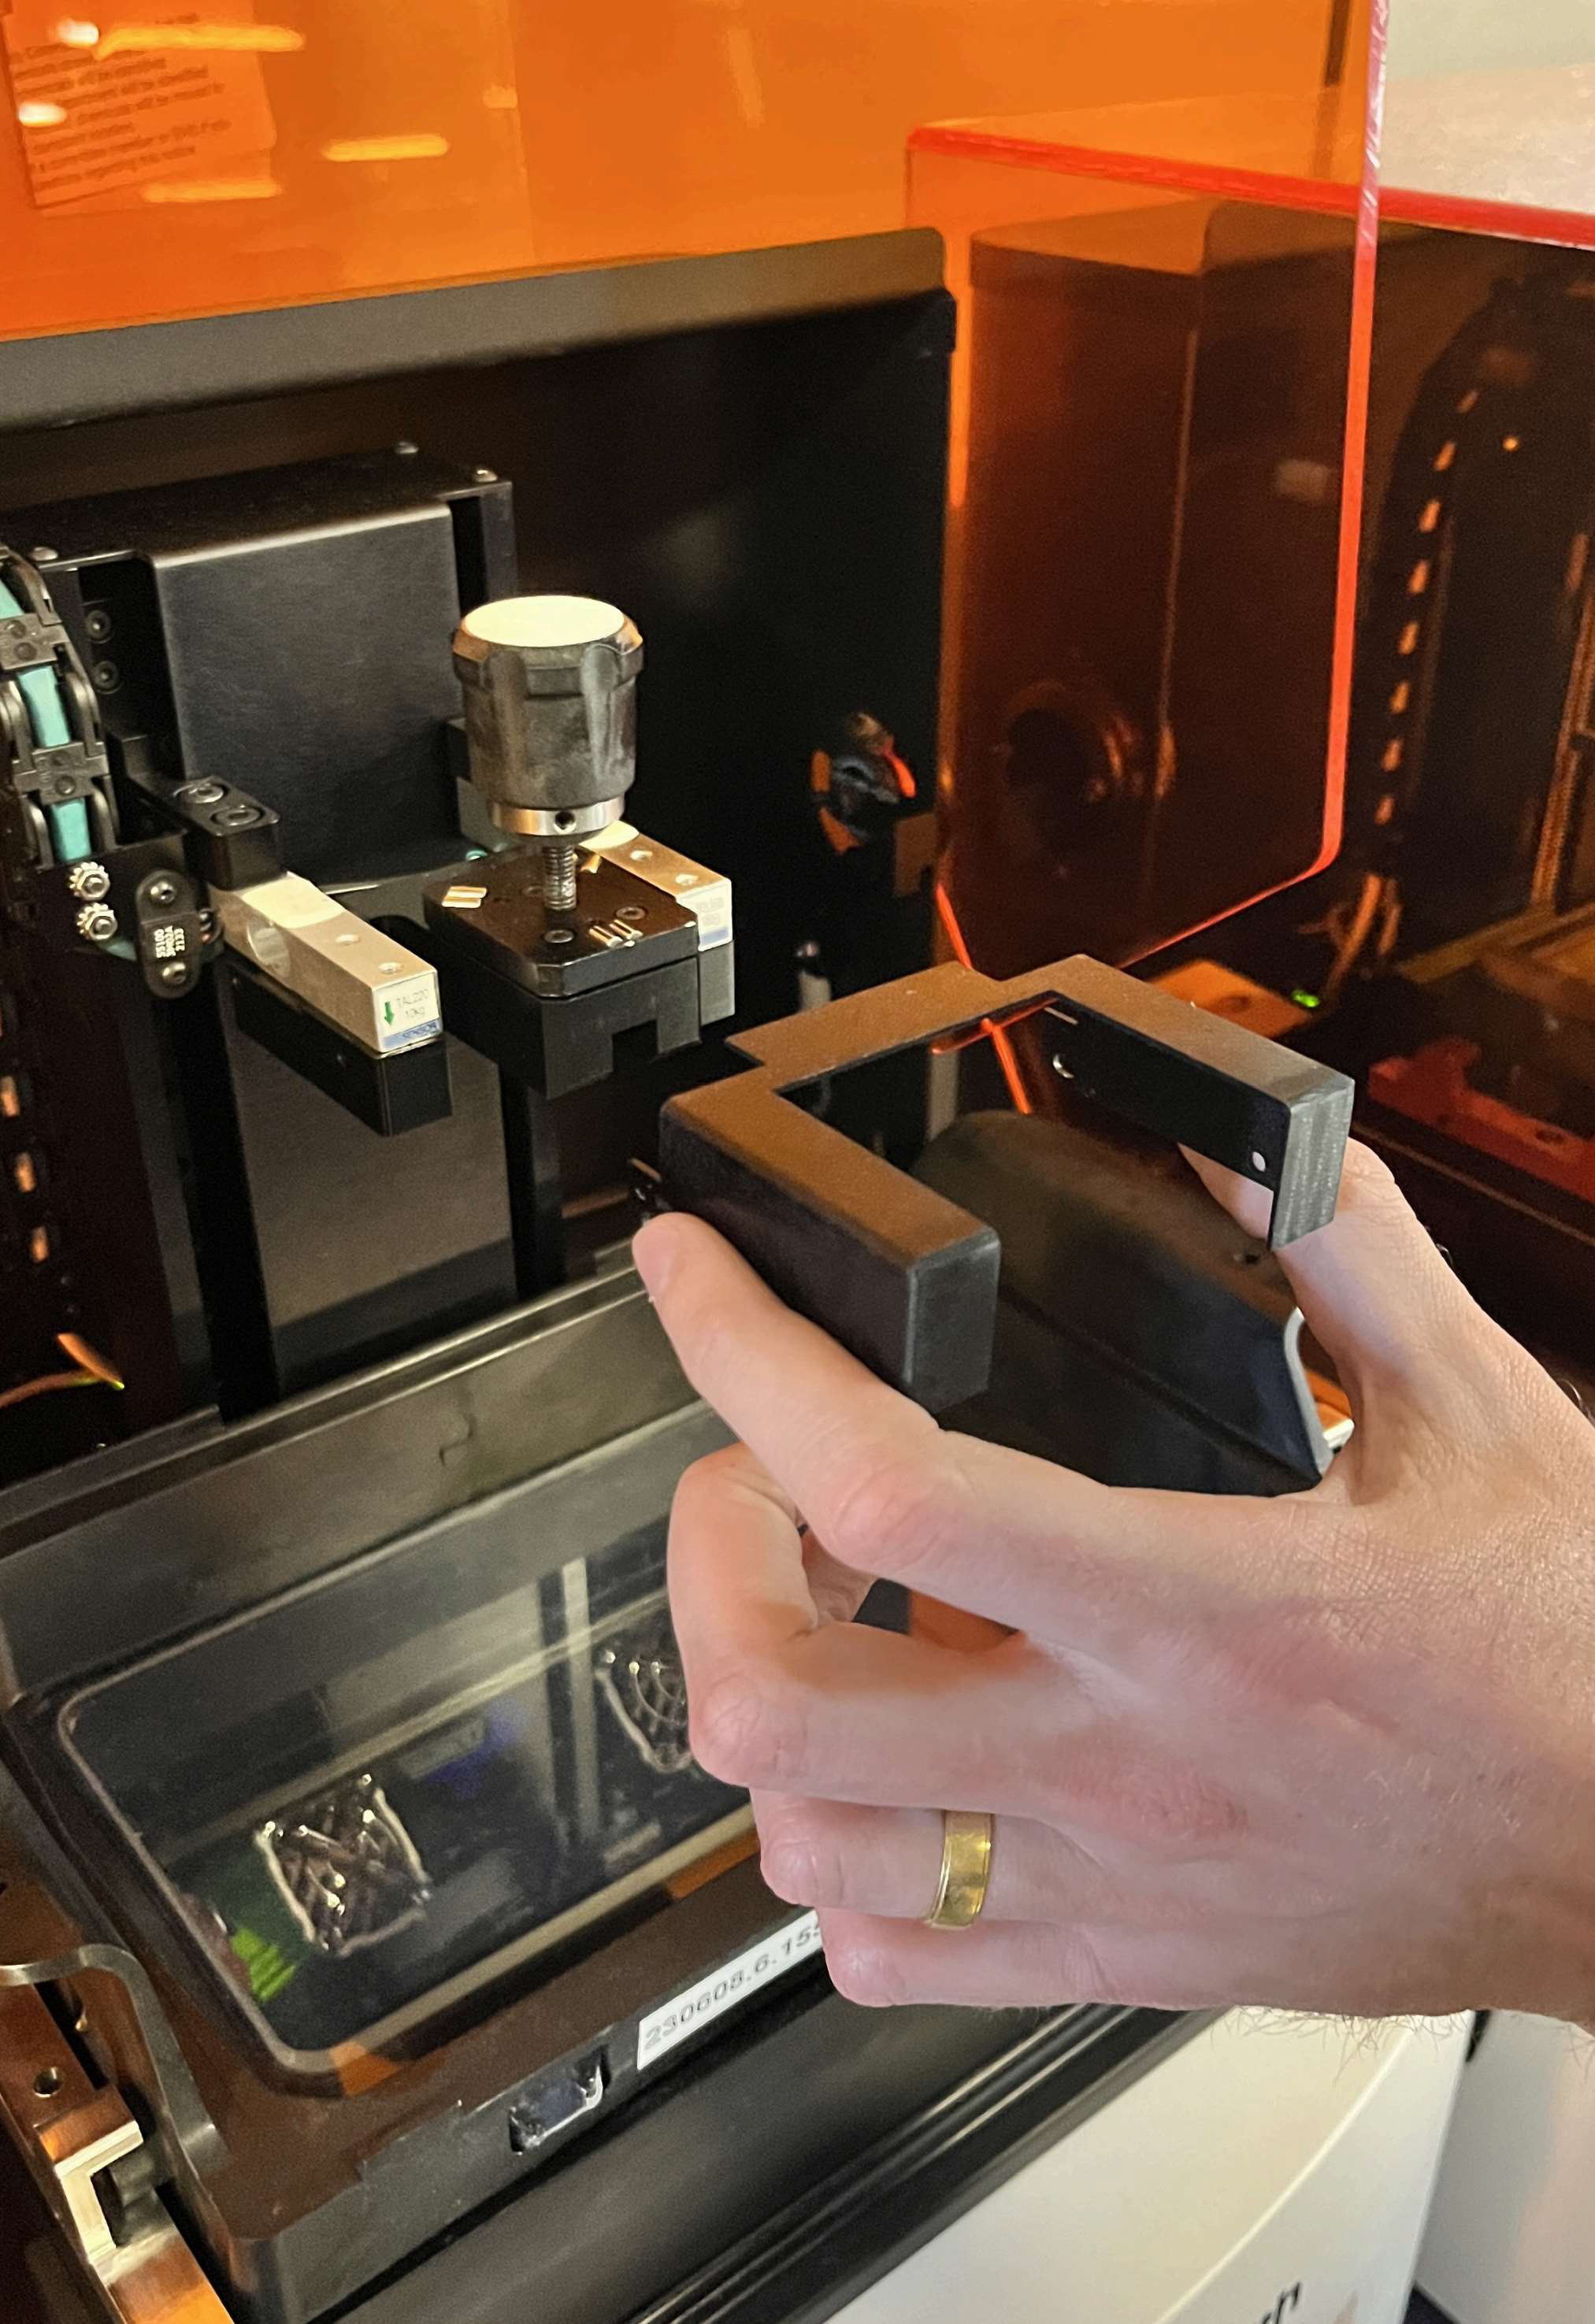
Install the new SmartPlate into the printer and tighten the torque knob until it clicks to ensure the platform is securely fastened.